NSFW AI Image Generator Beginner Guide 2026
Meta description: A beginner friendly guide to NSFW AI image generators in 2026, with tool choice, prompt structure, negative prompts, editing, privacy, and safety tips.
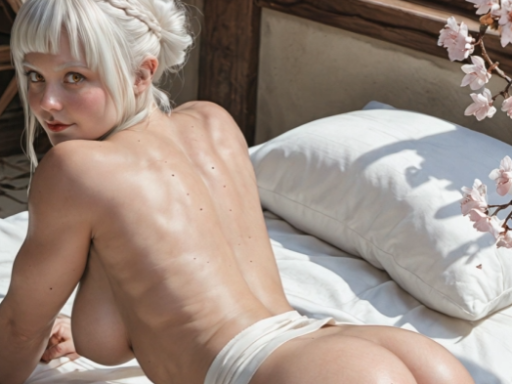
A NSFW AI image generator can create adult themed images from text prompts, reference images, or editing tools. For beginners, the main problem is not finding a button that says generate. The real problem is learning how to choose the right tool, write clear prompts, fix mistakes, and keep the workflow safe and private.
This guide gives a simple path for new users. It explains what a generator does, what to check before using one, how prompts work, why negative prompts matter, and when to use editing tools like inpainting. The writing is simple on purpose, because a beginner guide should help readers take action without needing a technical background.
Quick Start
If you are new, start with one browser based generator. Do not install many tools at once. Pick a tool, write a clear prompt, generate a small batch, choose the best result, then improve it. Most of your early progress will come from learning one tool well instead of jumping between five different sites.
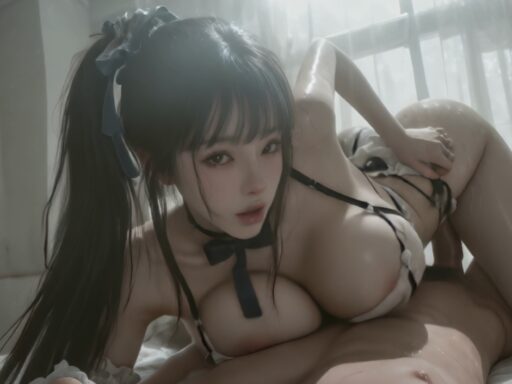
A good first prompt has five parts: adult subject, visual style, setting, lighting, and quality details. For example, a realistic portrait prompt may include the subject, a room, soft light, camera angle, and natural skin texture. An anime prompt may use tag style words for hair, eyes, clothing, pose, background, and illustration quality.
How NSFW AI Image Generators Work
Most tools turn text into images with a model trained on many image and caption pairs. The prompt tells the model what to make. The seed adds randomness. The model, settings, and prompt style decide how close the result gets to your idea.
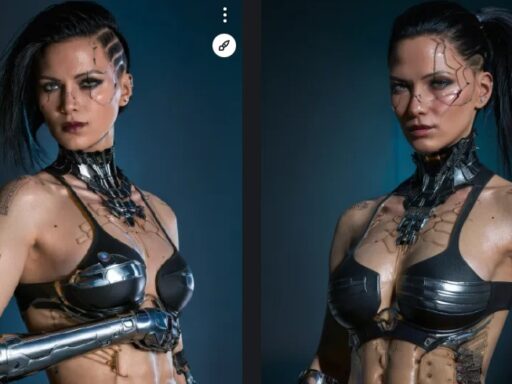
Some tools are made for realism. Some are better for anime. Some are simple web apps. Others are advanced local tools with models, LoRAs, ControlNet, and inpainting. A beginner does not need every feature on day one. It is better to understand the basic prompt and review process first.
Choosing the Right Tool
Choose based on your goal. If you want fast one-off images, a browser generator is enough. If you want anime, use a tool with Pony, Illustrious, or another anime model. If you want consistent characters, look for reference image support, character profiles, or LoRA training. If you care most about privacy, local generation is stronger than cloud tools.
| Goal | Best choice | Reason |
|---|---|---|
| Fast testing | Browser generator | No install and quick results |
| Anime images | Anime model tool | Better tag support and style control |
| Photo style | Realistic model tool | Better light, skin, and camera look |
| Same character | LoRA or reference tool | More stable identity |
| Private workflow | Local Stable Diffusion | Prompts and images stay on your machine |
Simple Prompt Formula
Use this structure for a first prompt:
adult subject, style, setting, lighting, camera or composition, quality details
This works because it gives the model visible information. Do not rely on vague words like perfect, amazing, beautiful, or cool. Those words do not explain what should appear in the image. A clear room, light source, pose, clothing style, and camera view are more useful.
For anime tools, shorter tag based prompts often work well. For realistic tools, camera and lighting words can help. For example, terms like soft window light, shallow depth of field, natural skin texture, candid photo, and 85mm portrait look can guide a realistic model.
Negative Prompts
Negative prompts tell the model what to avoid. They are important for NSFW work because body poses, hands, faces, and close detail can fail more often. A short negative prompt is usually better than a huge list of random terms.
A good starter negative prompt is:
bad anatomy, blurry, low quality, extra fingers, missing fingers, deformed hands, distorted face, watermark, text
Add more negative words only when you see the same error again. If hands keep failing, add hand related terms. If the face is weak, add face related terms or use an editing tool. Negative prompts help, but they cannot repair a bad model or a confusing positive prompt.
Generate in Batches
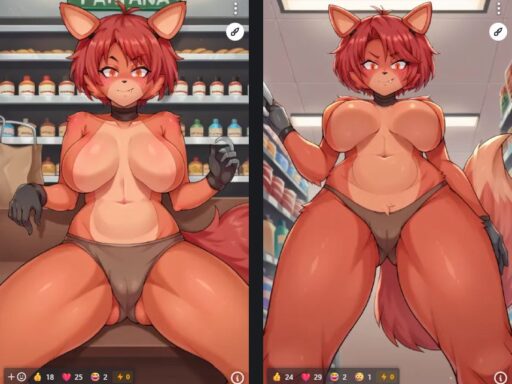
Do not expect the first image to be perfect. Generate 4 to 8 images with the same prompt. Pick the best one. Then change only one part of the prompt. This makes it easier to learn what improved the result.
If the subject is good but the lighting is wrong, change lighting words. If the style is wrong, change style words. If the face is good but the hands are bad, keep the image and use inpainting. This is faster than starting over every time.
Using Inpainting and Image to Image
Inpainting lets you mask one part of an image and regenerate only that area. It is useful for fixing faces, hands, clothing, background objects, and small anatomy errors. Image to image lets you use an existing image as a base and guide the new result.
Beginners should learn inpainting early. It turns many near-good images into usable images. The best workflow is to generate a strong base image first, then fix small problems instead of trying to get a perfect image in one click.
Privacy and Rules
Adult image generation needs careful privacy choices. Read the tool rules before uploading private reference images. Some services may store prompts, images, or training files. If privacy is important, local tools are better because the files remain on your own computer.
Use legal adult content only. Do not create images of real people without consent. Do not use minor related prompts or unclear age wording. If you publish images, follow the rules of the site where you post them.
Beginner Workflow Checklist
| Step | Action |
|---|---|
| 1 | Choose free ai nsfw one tool and one style |
| 2 | Write a clear prompt with visible details |
| 3 | Add a short negative prompt |
| 4 | Generate a small batch |
| 5 | Choose the best image |
| 6 | Fix small errors with inpainting |
| 7 | Save the prompt and settings that worked |
FAQ
What is the easiest NSFW AI image generator for beginners?
The easiest option is usually a browser based generator with no complex setup. Advanced users may prefer local Stable Diffusion, but beginners should first learn prompt structure and basic editing.
Why do my images look strange?
The prompt may be vague, the model may not match the style, or the negative prompt may be missing. undress ai remover Start with clearer visual details and test in small batches.
Do I need a powerful computer?
Not for browser tools. Local tools need a stronger computer and a GPU. If your computer is weak, start with cloud or browser tools.
Conclusion
The best beginner path is simple: pick one tool, write clear prompts, use a short negative prompt, generate in small batches, and fix the best image with editing tools. Once that workflow feels easy, you can move into LoRA, ControlNet, upscaling, and local generation.
How to Read a Bad Result
A failed image is still useful if you know what to look for. If the subject is wrong, the main prompt is unclear. If the style is wrong, the model may not match the goal. If the face is weak, the image may need better resolution, a face detail tool, ai clothing remover or inpainting. If the whole image looks flat, the prompt may need stronger lighting and setting details.
Beginners often delete bad images without learning from them. A better habit is to write down the problem in plain words. For example: hands failed, room too empty, face too smooth, anime style too soft, lighting too dark. Then fix one problem at a time.
Prompt Template Library
Keep a few reusable templates. A realistic template can include subject, room, camera, light, and texture. An anime template can include subject tags, hair, eyes, outfit, setting, and quality tags. A character template can keep identity stable while changing only the scene.
For example, a simple realistic template is: adult subject, realistic photo, room or location, soft light, camera view, natural texture, sharp focus. A simple anime template is: adult anime subject, hair, eyes, outfit, scene, lighting, detailed eyes, clean line art.
When to Upgrade Tools
Do not upgrade because one image failed. Upgrade when you repeatedly hit the same limit. If the tool cannot fix images, move to one with inpainting. If characters keep changing, use reference images or LoRA. If privacy matters, move to local generation. If mobile editing feels slow, move to desktop.
This upgrade path keeps the learning curve manageable. You learn the reason for each new tool before adding it to the workflow. That makes the process less confusing and gives better results over time.
SEO Content Notes for Beginner Pages
A beginner article should answer the first action quickly. Readers should know which tool type to try, how to write a first prompt, and what to do when the image fails. Add tables, examples, and short FAQ answers because beginner searchers scan before they read deeply.
Good internal links include prompt examples, negative prompt lists, inpainting guides, iPhone workflows, and local setup tutorials. This creates a clear learning path from simple generation to advanced editing.
Beginner Settings Explained
Many tools show settings such as seed, steps, guidance, sampler, size, and model. Beginners do not need to master every setting at once. Start by changing only image size, model style, and prompt. Keep the other settings at default until you understand the result.
The seed controls randomness. The same seed with the same settings can help repeat an image. Image size affects composition and detail. The model controls the visual style. Guidance controls how strongly the model follows the prompt in some tools. If guidance is too high, the image may look stiff. If it is too low, the prompt may be ignored.
Learning these basics helps readers move from random generation to controlled generation. It also makes future guides about LoRA, ControlNet, and inpainting easier to understand.
Simple Learning Path
Beginners should learn in stages. First, learn text to image. Second, learn negative prompts. Third, learn image to image. Fourth, learn inpainting. Fifth, learn LoRA or reference images. This order keeps the process clear.
Skipping straight to advanced tools can create frustration. A strong basic prompt habit makes every later tool easier to use.
Final Beginner Tip
Save every prompt that works. A beginner improves faster by building a small library of tested prompts than by starting from zero each time. Good notes turn random testing into a repeatable workflow.